
Form Builder
Easily build and customize forms for your website, with no code. The possibilities are endless for what you can create including contact, order, appointment, and feedback forms.
- Free to use
- Easy to install
- Quick to customize

Customizable
Select from drop downs, multiple choice, star ratings, file uploads, emoji feedback, picture choice, and more.

Multi-Page Forms
Great for surveys or long forms to make them more user-friendly.

Post-Submission Options
Redirect customers to a thank you page, show a custom message, display results publicly, or hide the form.

Conditional Logic
Show or hide certain questions based on a customer’s previous response.

Payment Options
Easily accepts one-time payments, subscriptions, donations, or create discount codes.

Email Notifications
Set up email notifications for form submissions and abandoned carts, and design a branded autoresponder that sends automatically when someone submits your form.

- Customize your form
Select a template, edit the form, and customize the design to match your brand. - Add the code to your site
Insert your unique ShareThis code to the header section of your website - Copy and paste the placement code
Add placement code wherever you want the tool to appear


Integrations

MailChimp
Automatically import new contacts to your email lists.

Google Sheets
Automatically sync new form responses in real time.

Zapier
Connect to thousands of apps to set up powerful automations that save you time.

Frequently Asked Questions
Got any questions about our products and services? Look no further!
Adding Form Elements
Form elements are the basic units of a form. They are the information your visitors will fill out. You can add form elements to collect text, emails, dates, multiple choice answers, numbers, and more. To add a new form element, open the Form section, under Form Elements, click Add Element. Then select the type of element you want from the emerging window.

Setting Up Email Alerts
You’ll probably want to receive emails when a visitor fills out your form. You can set this up in the POWR Editor in the Settings section. Under Notifications, click Email to Form Admin and enter your email address in the field provided beneath Send Submission Notification to:

Advanced Options
Requiring Payments
POWR Forms accept payments through PayPal, which means customers can pay with their PayPal account, or with their credit card. You can accept payments through any POWR Form. Just go to the Payment section and switch the toggle to On the Require Payment option.
A new set of subsections will appear. Click into each section and fill out the necessary details to sell your product or service. The default settings will create a one-time payment, for selling a single product at a single price. However, you can also set up the form to accept donations or create recurring subscriptions where a customer pays you automatically every day, week, month, etc. You can also add pricing options with a multiple choice question (see above), so that customer choices will change the final price.

Connect to MailChimp
You can connect POWR forms to MailChimp, to easily create or grow your mailing lists. To connect MailChimp, go to the Settings section and under Integrations and click MailChimp. Next, click the Connect a MailChimp List and a new window will pop up for you to log into MailChimp and select the correct MailChimp list.
Once your list is connected, you’ll need to go through your Form Elements and enter the desired MailChimp MERGE tags in the box provided to send that information to the MailChimp lis connected.

Conditional Logic
Conditional logic is a tool that allows you to create smarter forms that respond to choices made by your visitors. New form elements are displayed based on a visitor’s selections to previous questions.
You can think of conditional logic as a tree, where each fork leads to a different set of branches. The rules you create determine which branch a visitor goes down, based on the choices they make. Currently, rules can only be made for an answer to multiple-choice types of questions. Conditional logic is an upgraded feature and is not available in the free version of POWR Forms.
Auto-fill feature in FormBuilder app
POWR Forms can be auto-filled with inputs saved to a browser (i.e. first name, address, email). However, this is not a feature of the POWR app itself.
At this time, there is not an autofill feature in the Form Builder plus app. If a form respondent has autofill settings enabled in their browser, the Form Builder app will recommend information saved from their autofill settings.
To turn off auto-fill in browsers please see this links below:
How to collect the Shipping address with FormBuilder?
Please follow the steps below:
- Login to your ShareThis platform account
- Navigate to the Form Builder app and open app settings
- Connect payment account
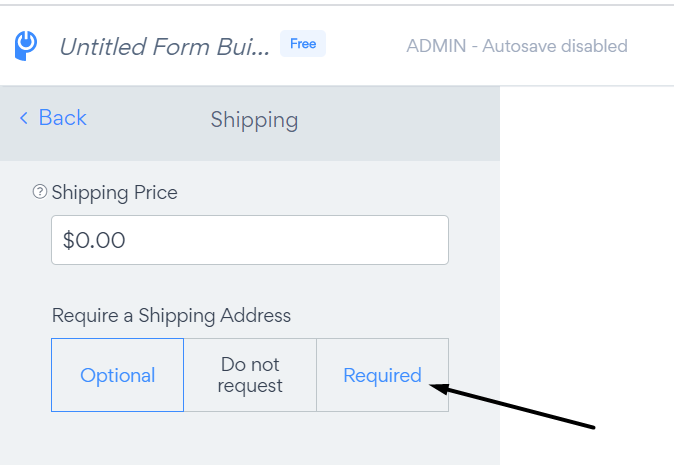
- Open the “Shipping” section in the Payment tab:
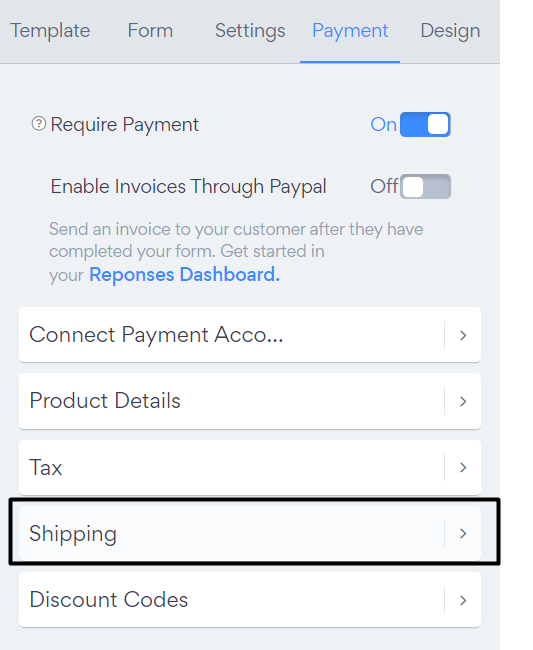
5. Select the “Required” option in the “Require a Shipping Address” section:
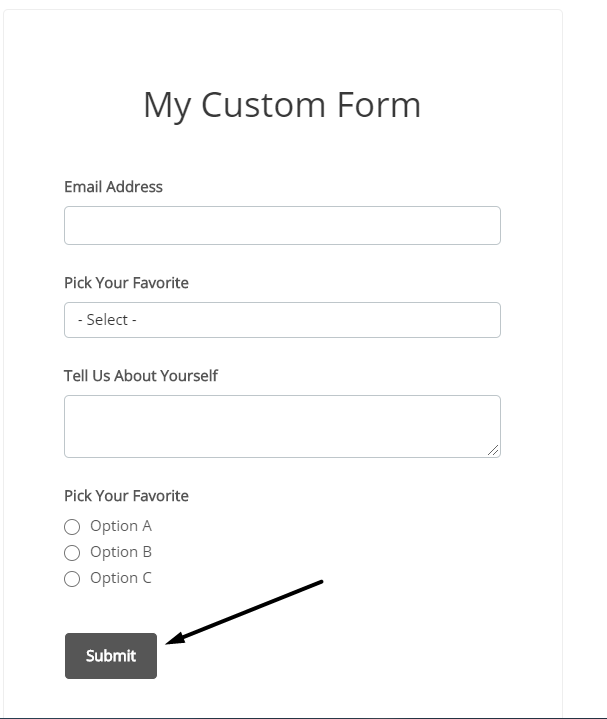
How to change button text in FormBuilder?
If you wish to change the button text, please open app settings and follow the steps below:
- Click on the “Form” section
- Press on the “Button” tab
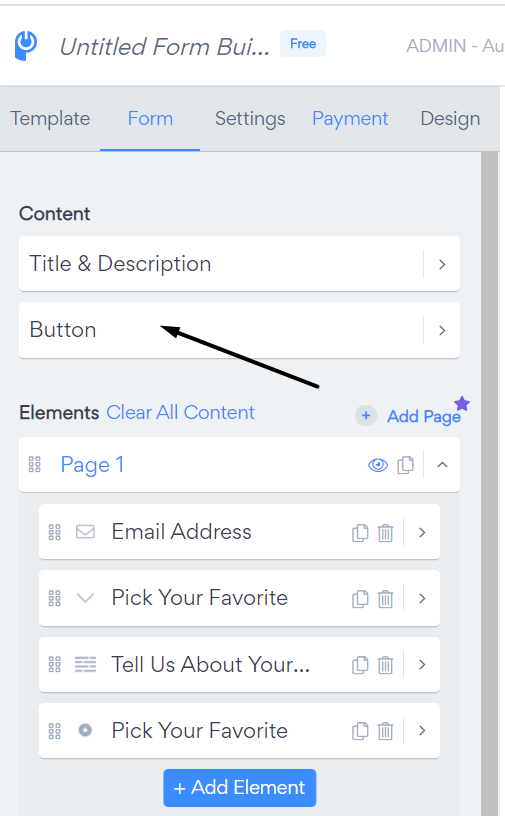
3. Change the text in the “Button text” field:
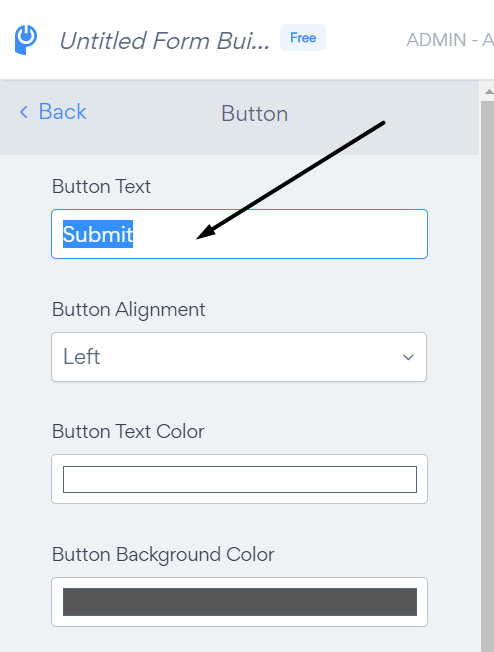
4. Save changes by clicking on the “Publish” button.

There are two ways to access your form responses in the Form Response Dashboard:
1. POWR Editor
- Open the ShareThis platform and navigate to the Form Builder
- In the Settings section scroll down to see the View Form Responses button or click on View Responses link in the top right panel of POWR Editor
- Click on the button to open the Form Response Dashboard
- To export form responses, select on either the .csv or .xls (Excel) buttons next to Download Response

2. POWR Dashboard
- Log into the ShareThis platform
- Click on the View responses link on thumbnail of your Form Builder App or click on three dots and select Responses.
- You will be redirected to the Form Response Dashboard
- To export form responses, to select .CSV or .XLS (Excel) click on Download Responses, enter your email and press Confirm

POWR Form Builder features an integration with PayPal and Stripe which lets you accept payments and donations.
To collect payments as part of the form submission, follow these steps to get set up:
- In the ShareThis platform, navigate to the POWR Form Builder, and go to the Payment section
- Toggle Require Payment to On
- Enter your PayPal email address and/or connect your Stripe account
- Enter product details like name, currency, cost, etc.
- Continue through the Form Builder to save your changes
Everyone submitting a form with payments required will be redirected to a checkout window for the payment portion. On there they will either enter their credit card details in a secure checkout form (Stripe) or be redirected to PayPal to complete payment on their site.
See all FAQ
We would love to hear your feedback about this product!
Review This Share Tool:
Get your Form Builder
Create contact forms, surveys, and more with our customizable form builder.